deerdad
NES Member
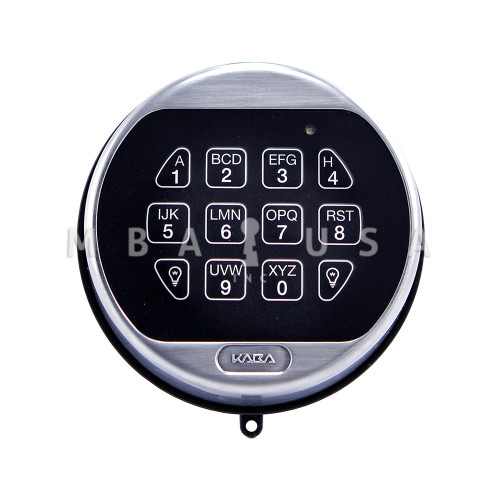
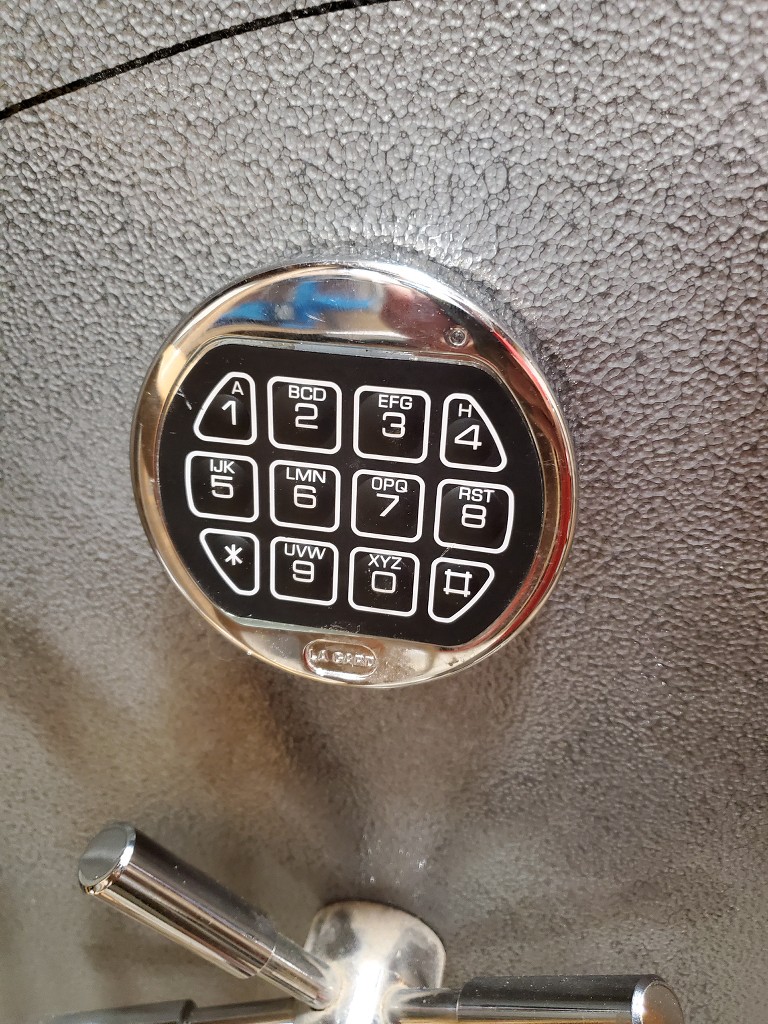
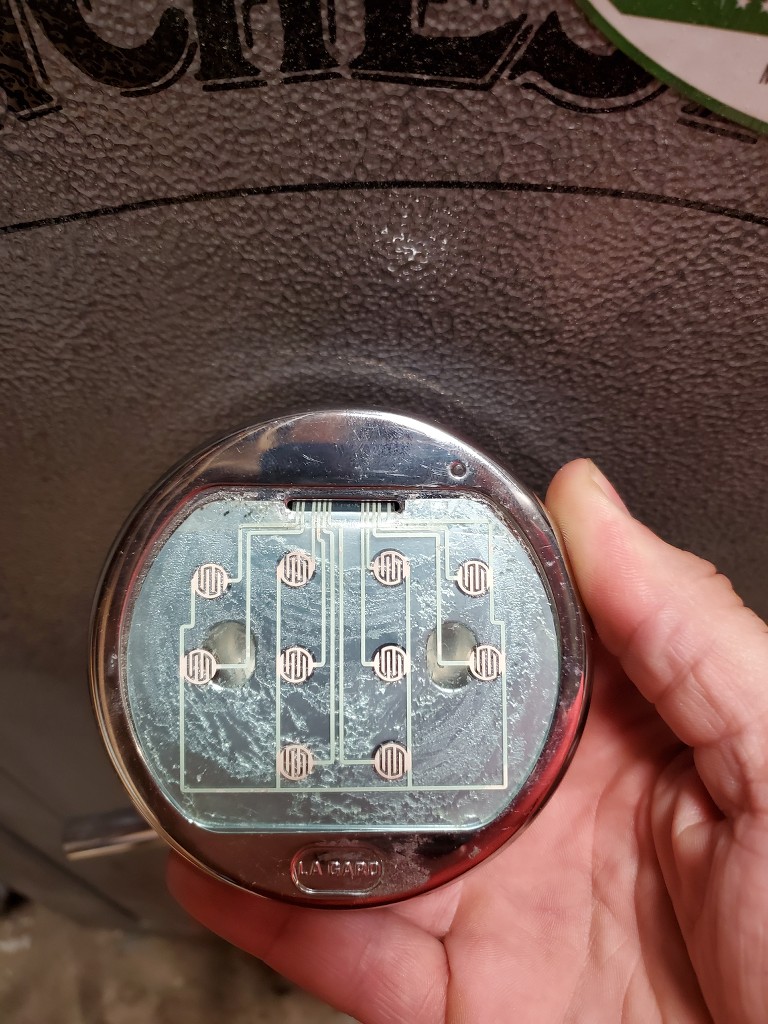
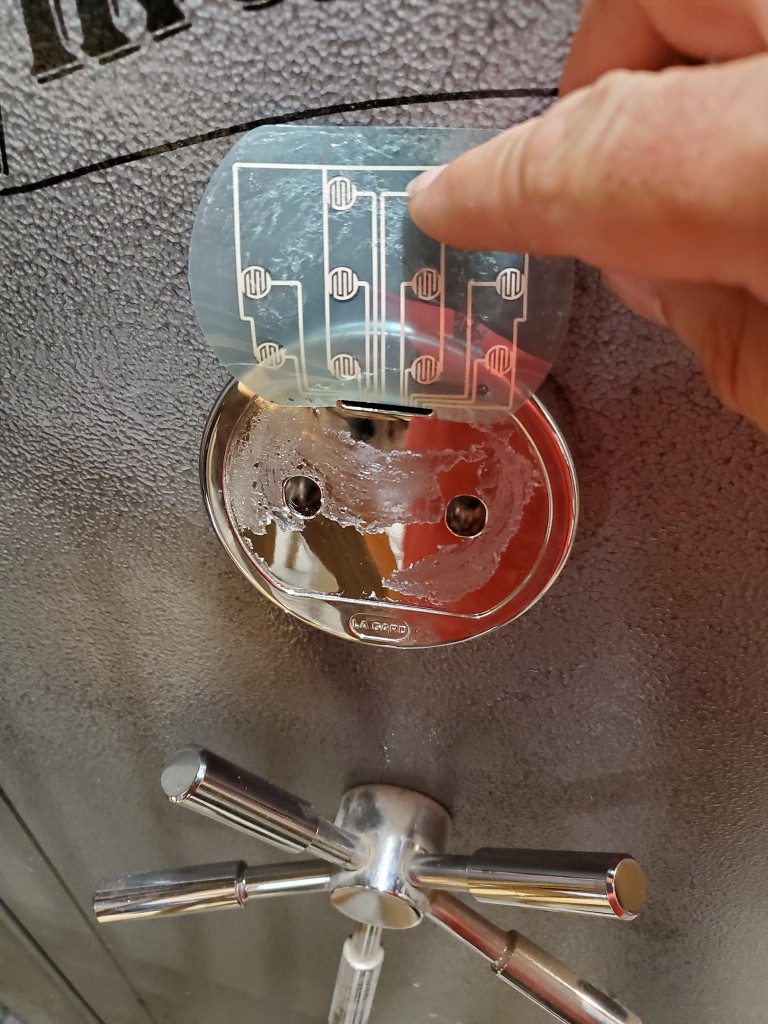
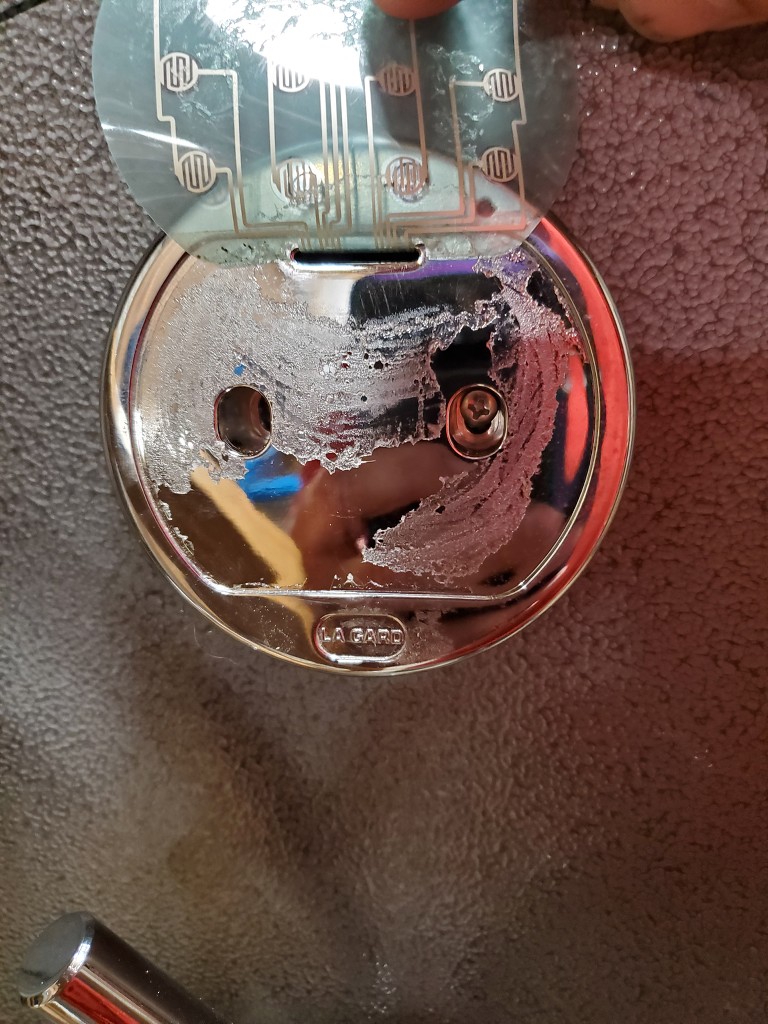
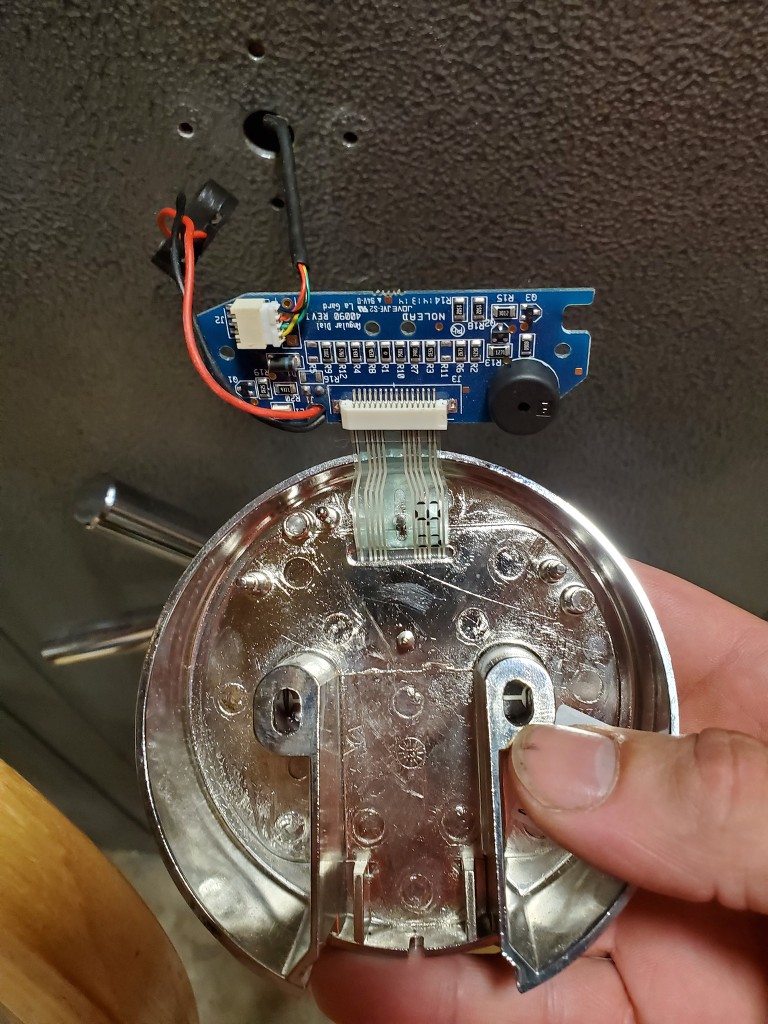
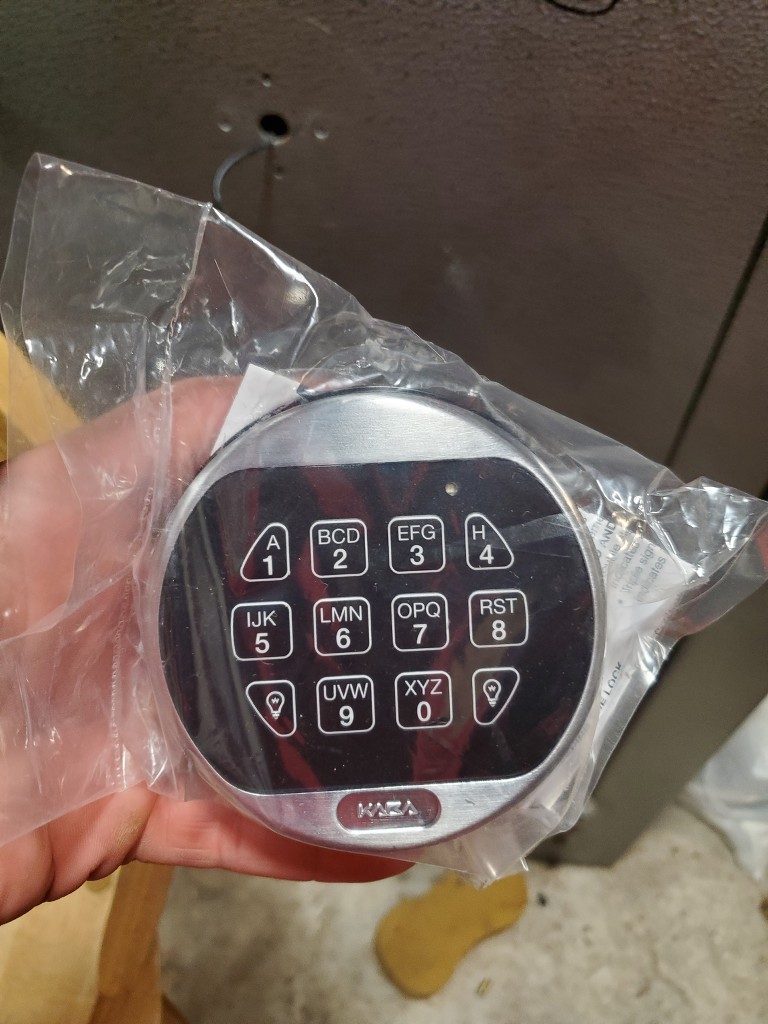
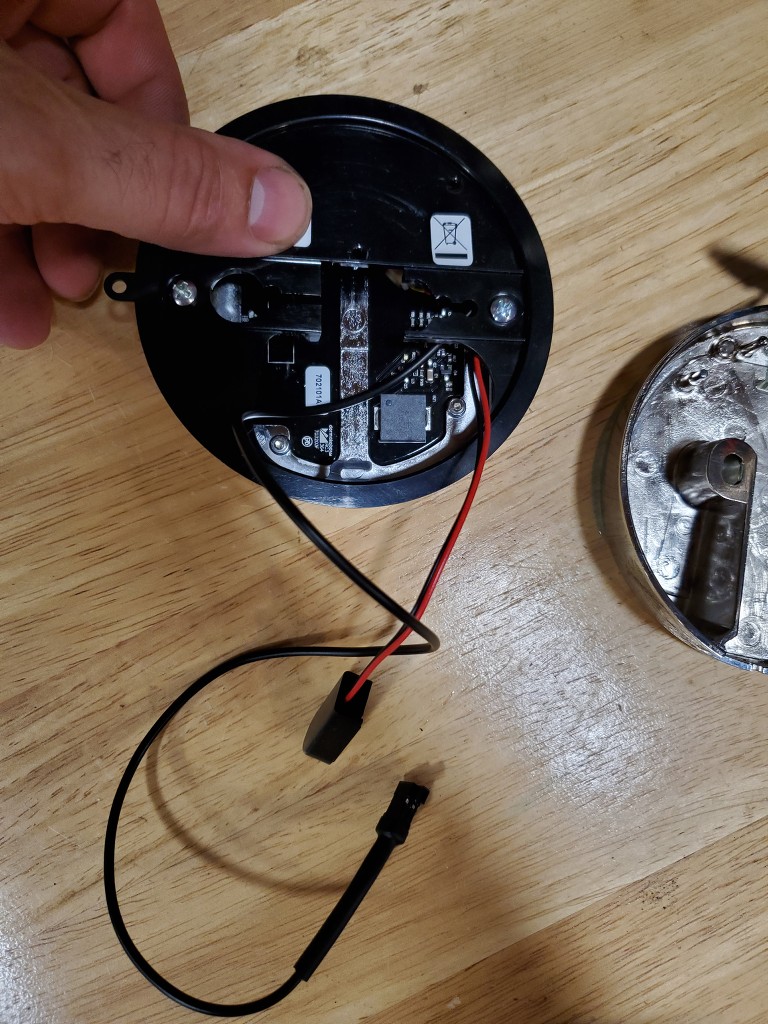
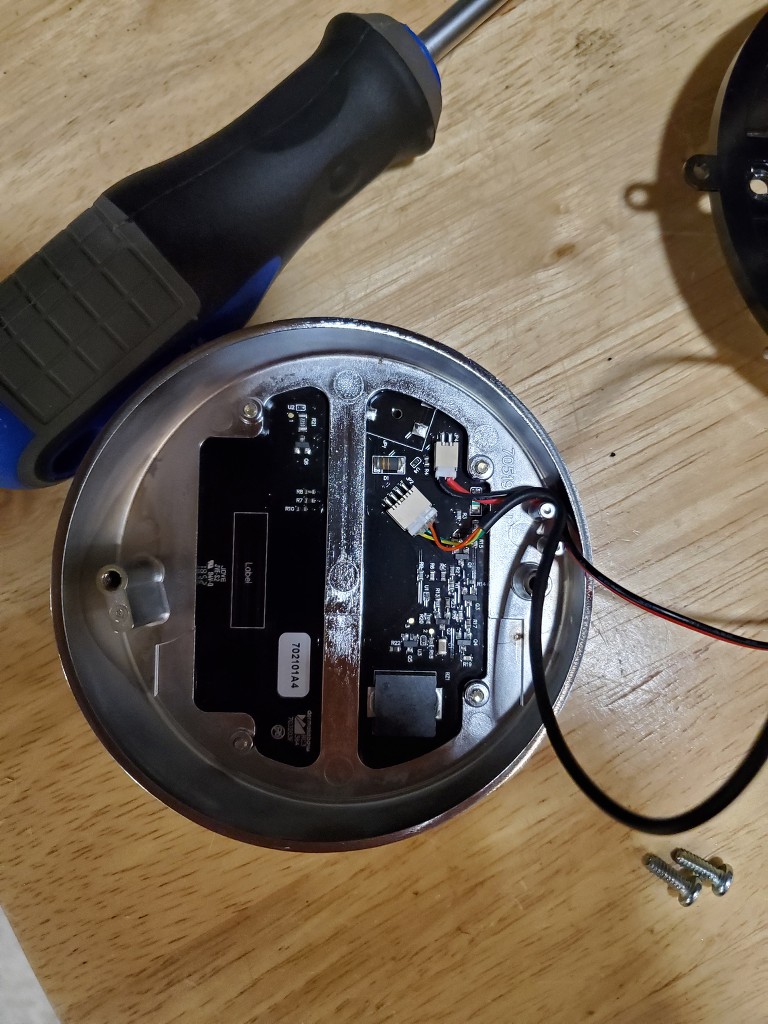
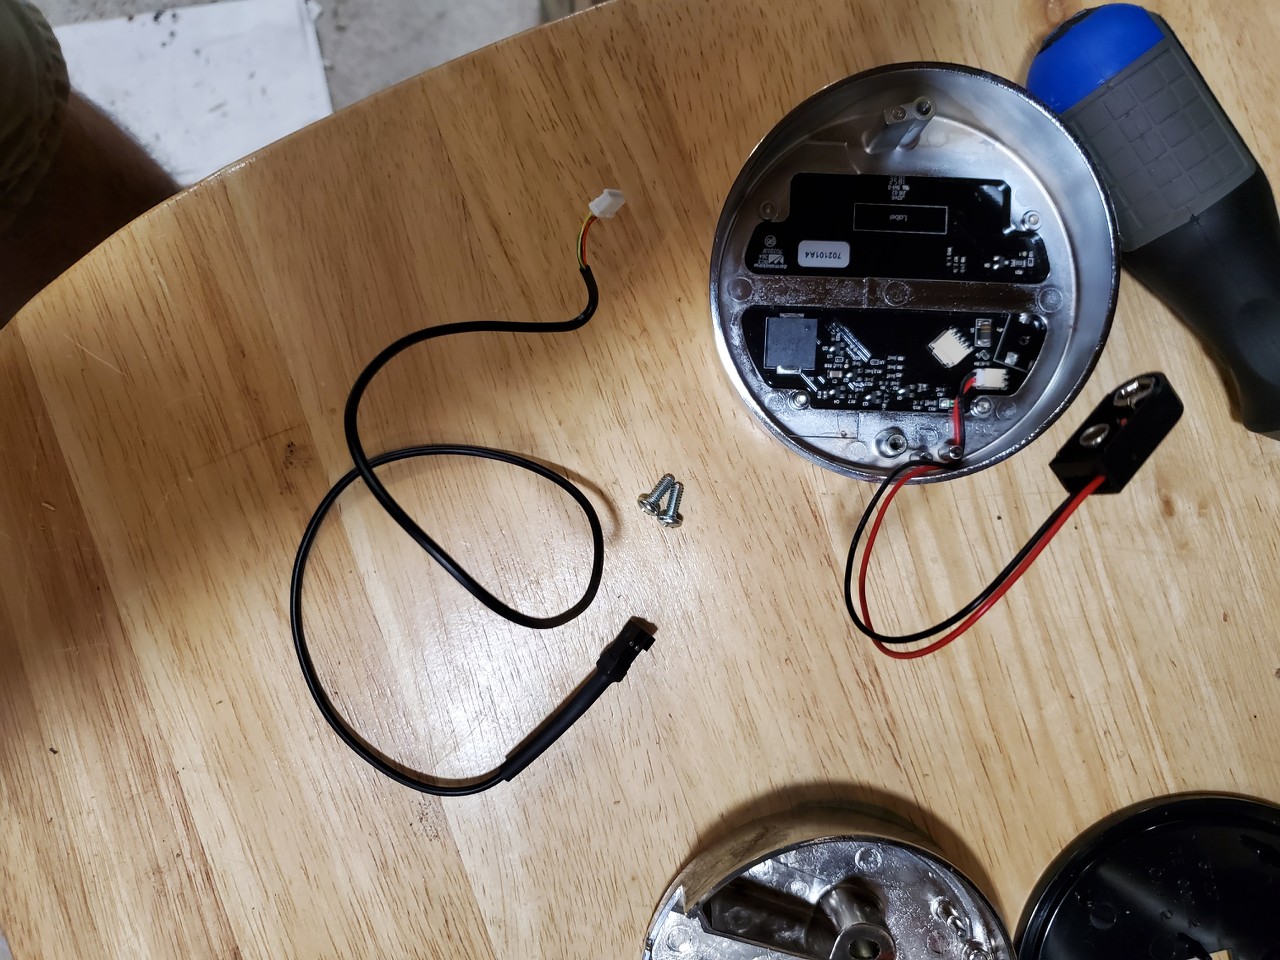
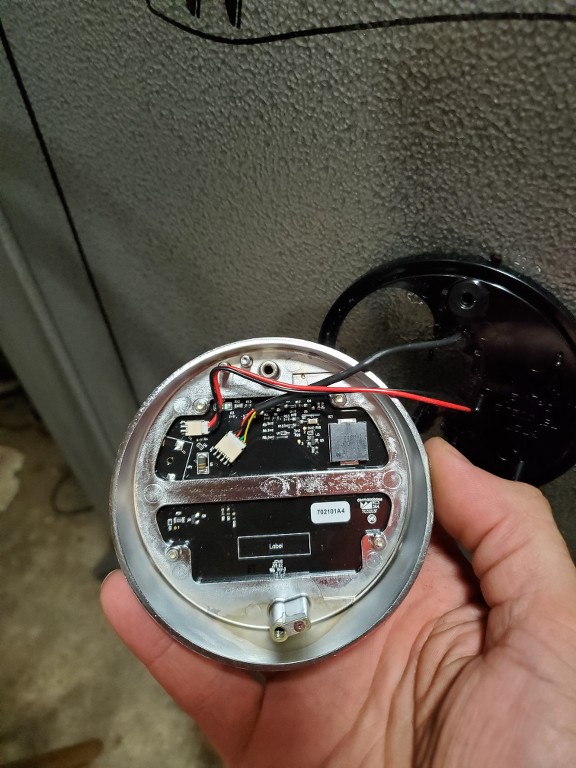
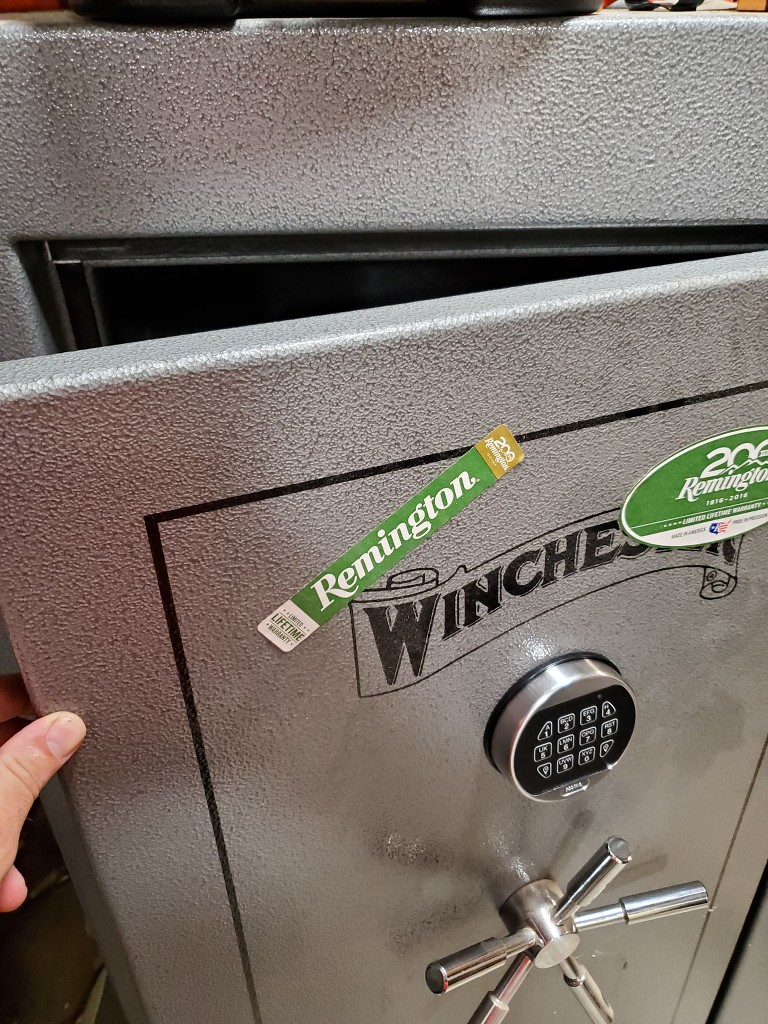
Been watching this thread because I also have a win safe from TS with electronic lock for 3 years now. Am I following this correctly by assuming that if or when the keypad goes bad and the safe is locked closed, the keypad can be replaced without having to open the safe?