Modify Wood Uzi Stock for Permanent Installation
Most of the surplus UZI wooden stocks are quick release types, meaning that you can quickly remove the stock with a squeeze of the lever on the bottom of the stock. Well, that isn't legal because the rifle would be below the minimum length required by federal law so don't do it unless you like being in prison. So, you can take the parts that come with the SMG parts kit, the parts that come with the surplus wooden stock, modify them, and end up with a nice, solid permanently attached stock. How? Glad you asked!
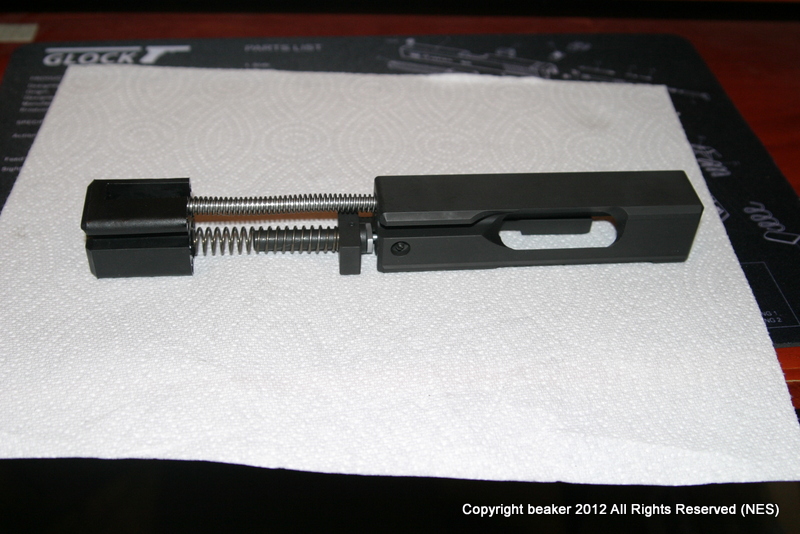
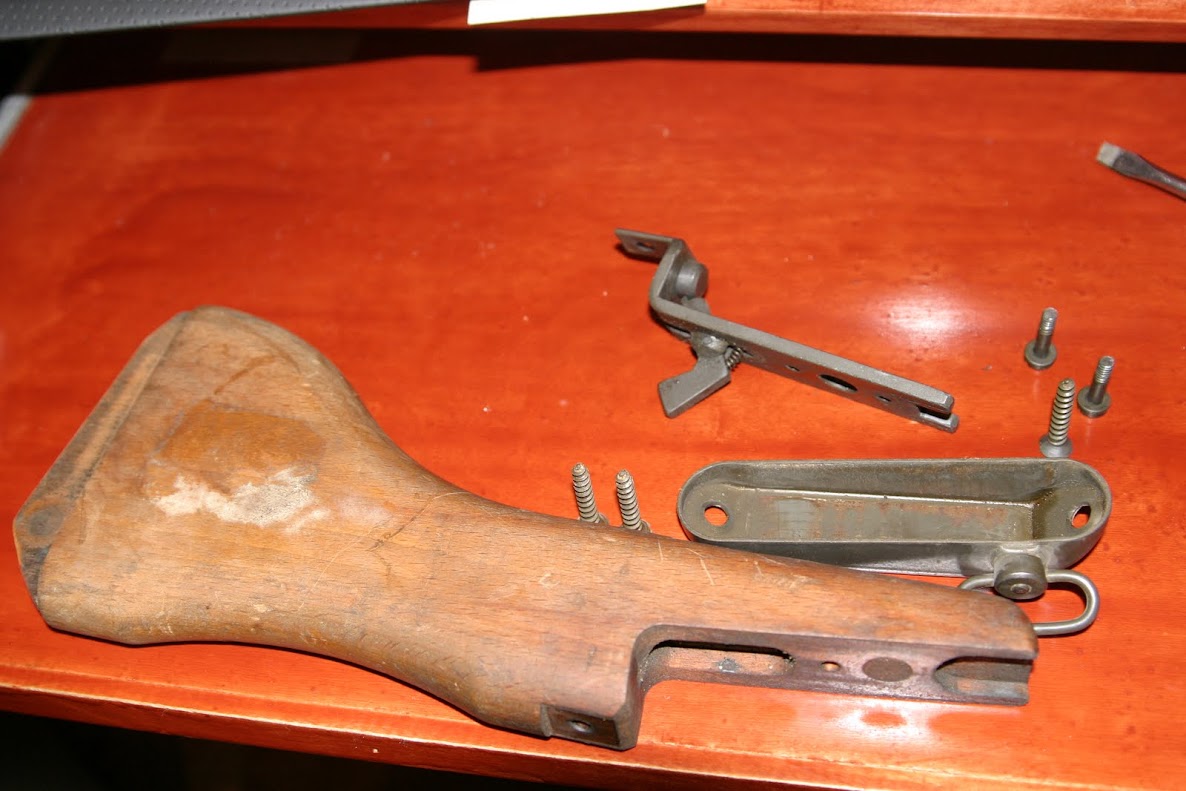
You need the following parts:
* From the folding stock - stock mounting nut and the 1/4-20 cap screw that goes with it.
FYI: You can't mount the folding stock on the rifle if you live in MA unless it is a pre-ban firearm.
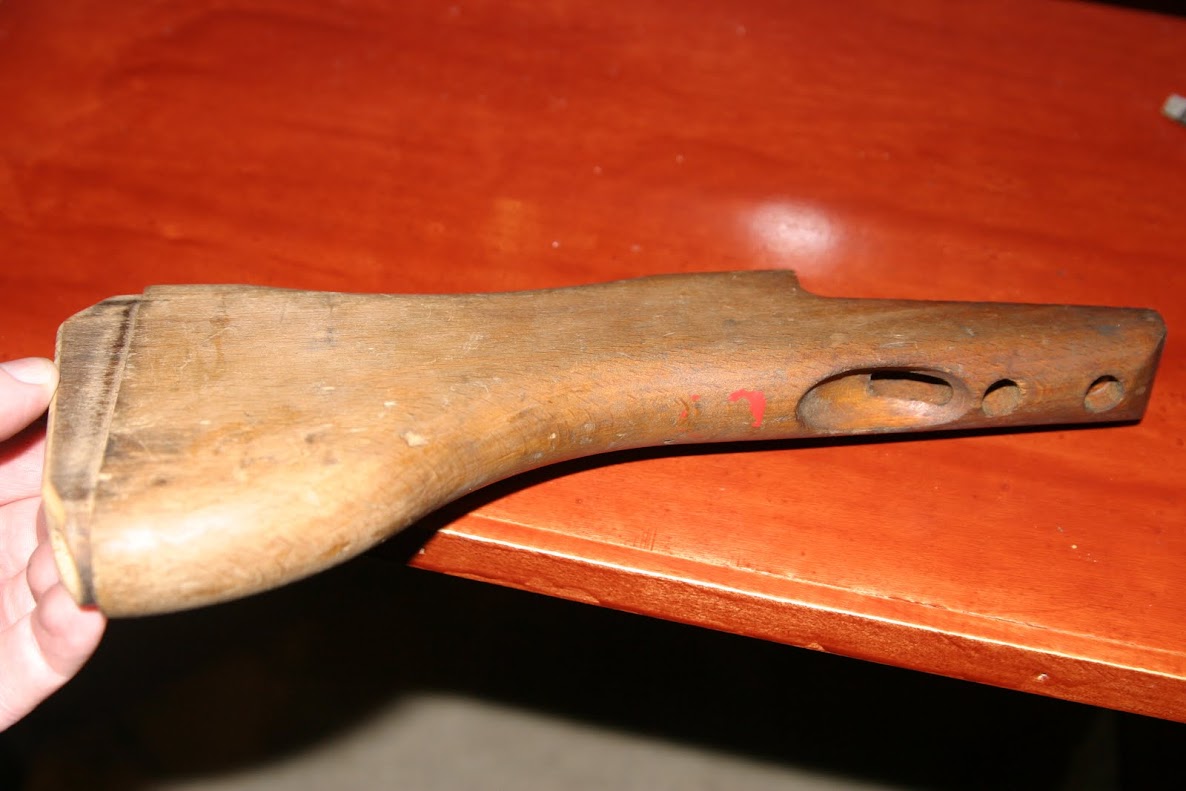
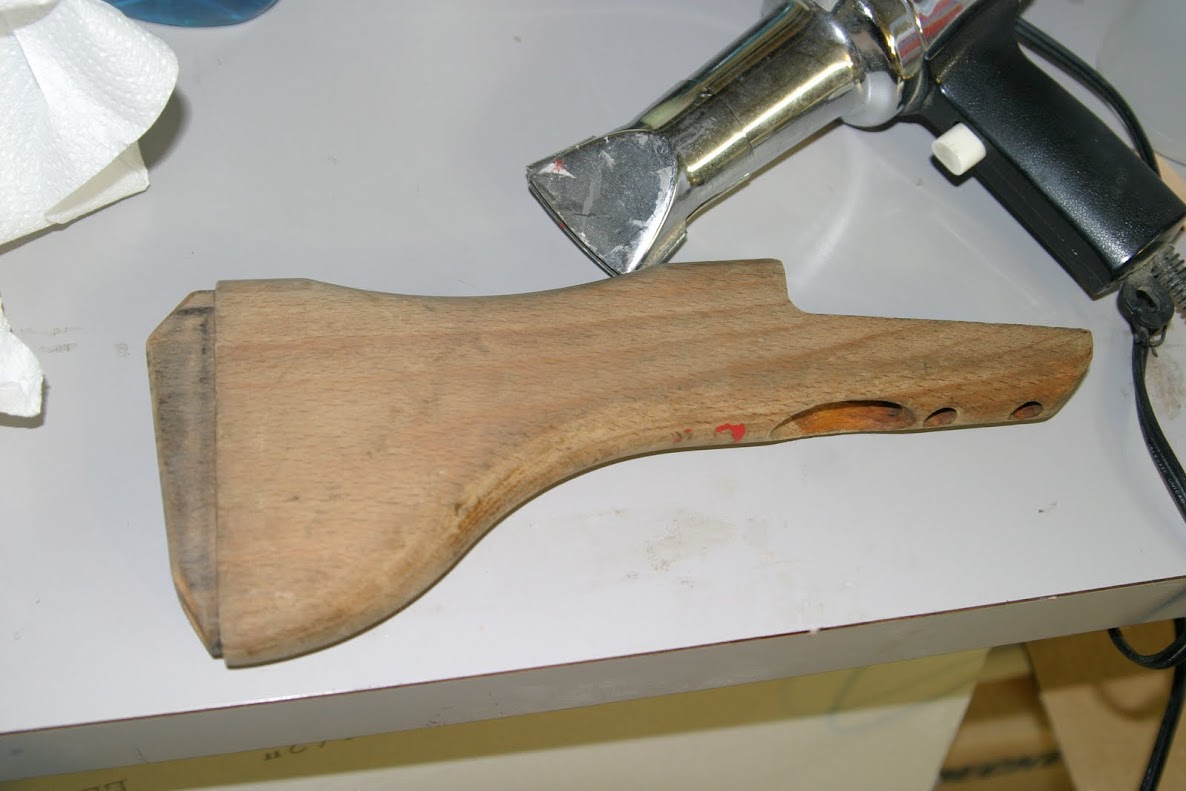
* Surplus wooden stock with quick release mounting bracket.
You need to modify the nut by shortening the stud portion that fits through the hole on the rear of the receiver. On the folding stock, it would stick out through the back, and through a similar hole on the front of the folding stock. The cap screw then holds the stock in place. You need to modify the stud on the nut so that it does not stick out from the back of the receiver, but slightly below flush so it does not protrude. This will become much clearer with the pictures below.
MODIFY THE NUT
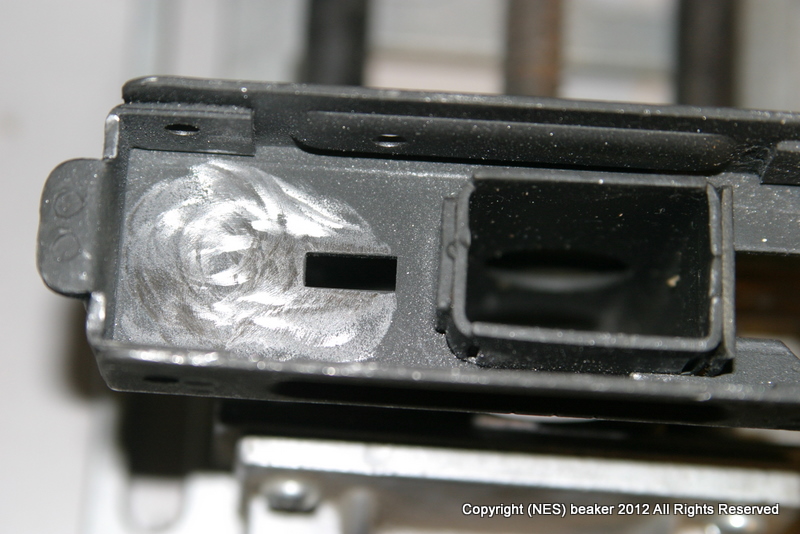
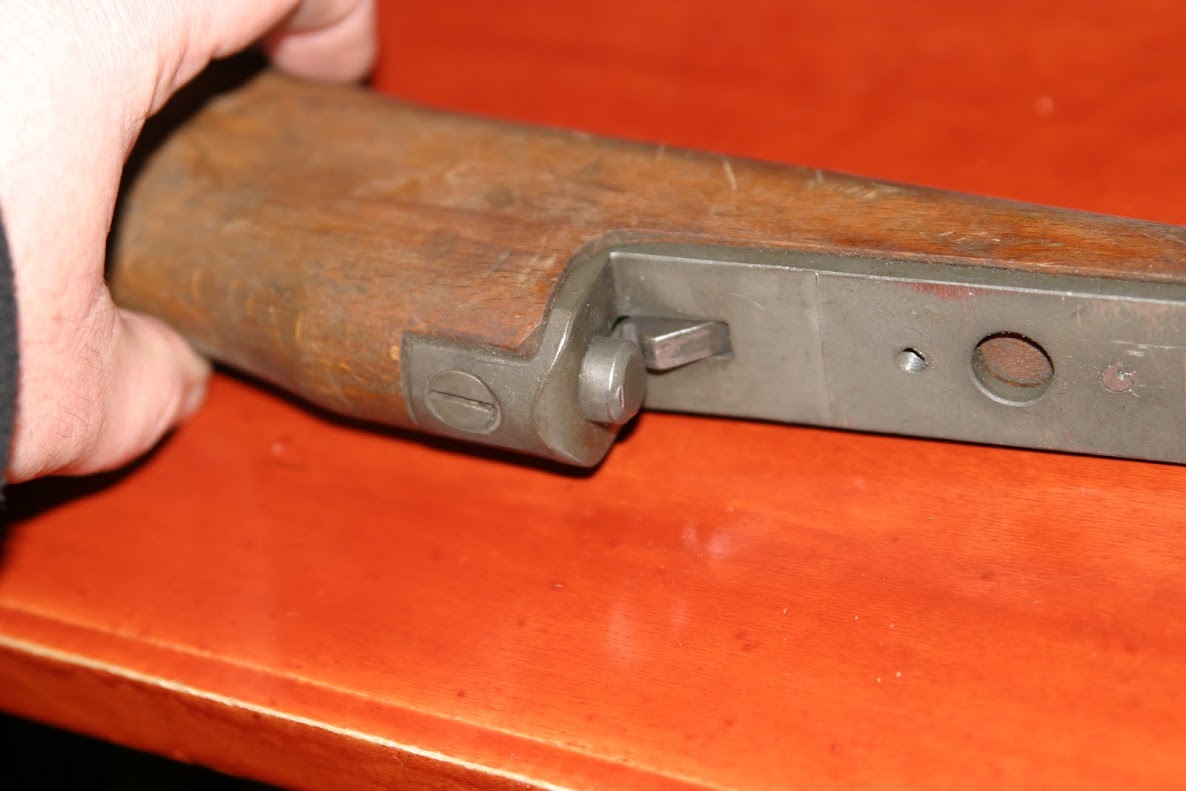
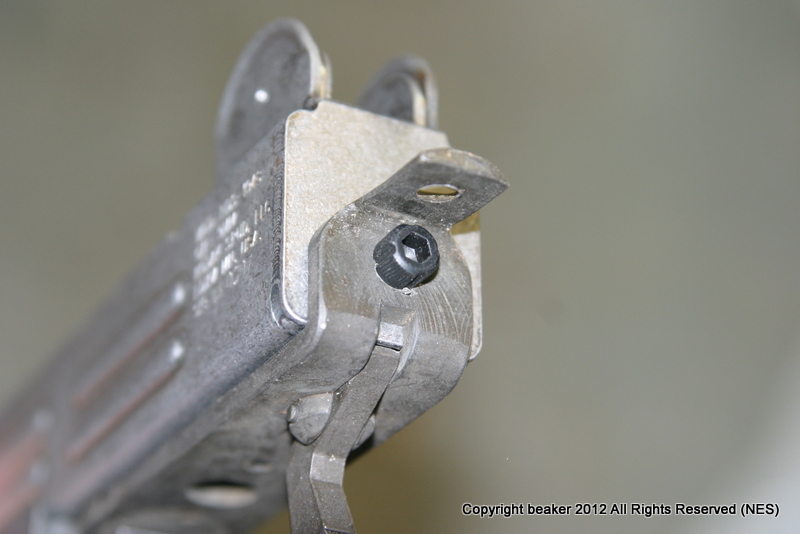
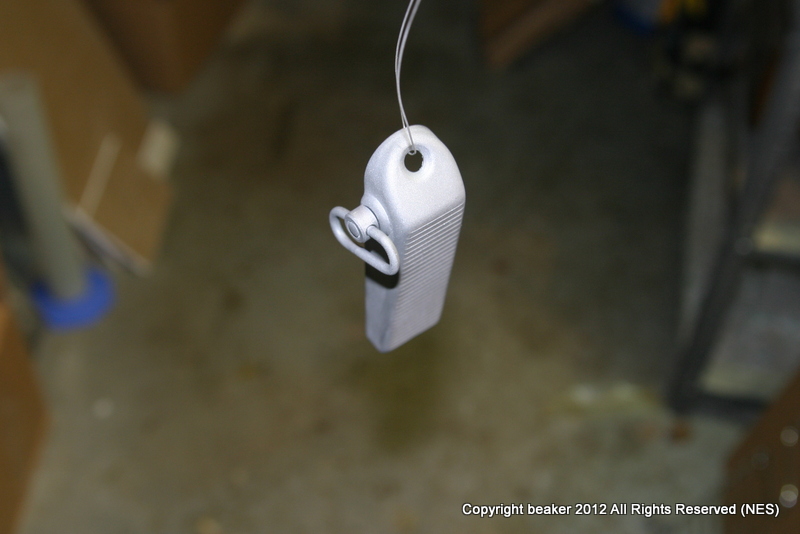
I milled down the top of the button/stud so it sits about 0.005"-0.010" below the outside surface of the rear of the receiver when installed so it will not interfere with the stock mounting bracket. I used a milling machine, a band saw or even a belt grinder would probably work if you can hold it somehow.
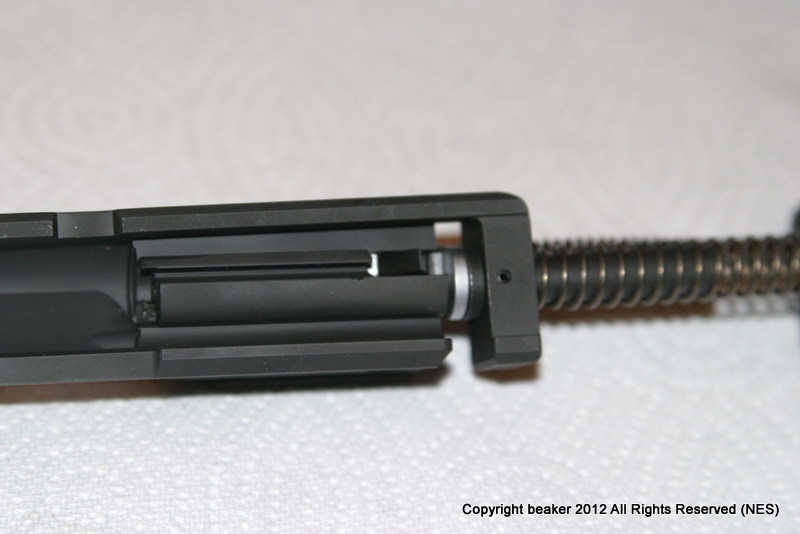
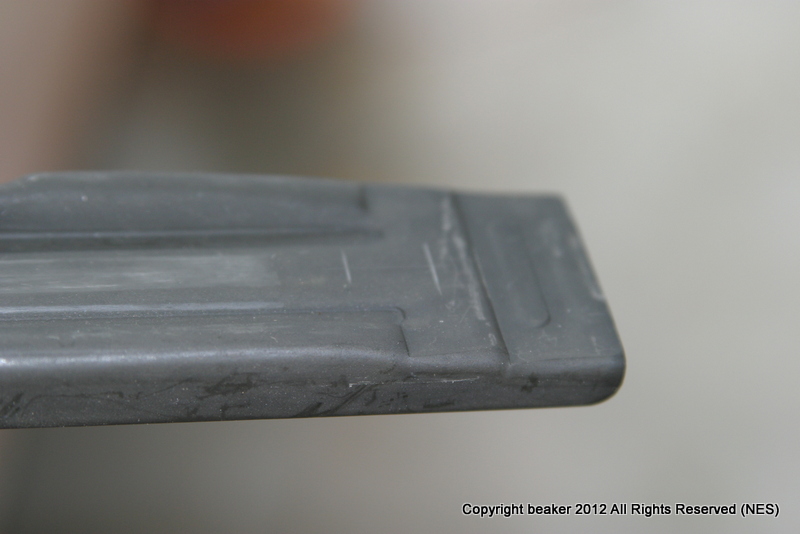
Here is how it looks in the receiver.
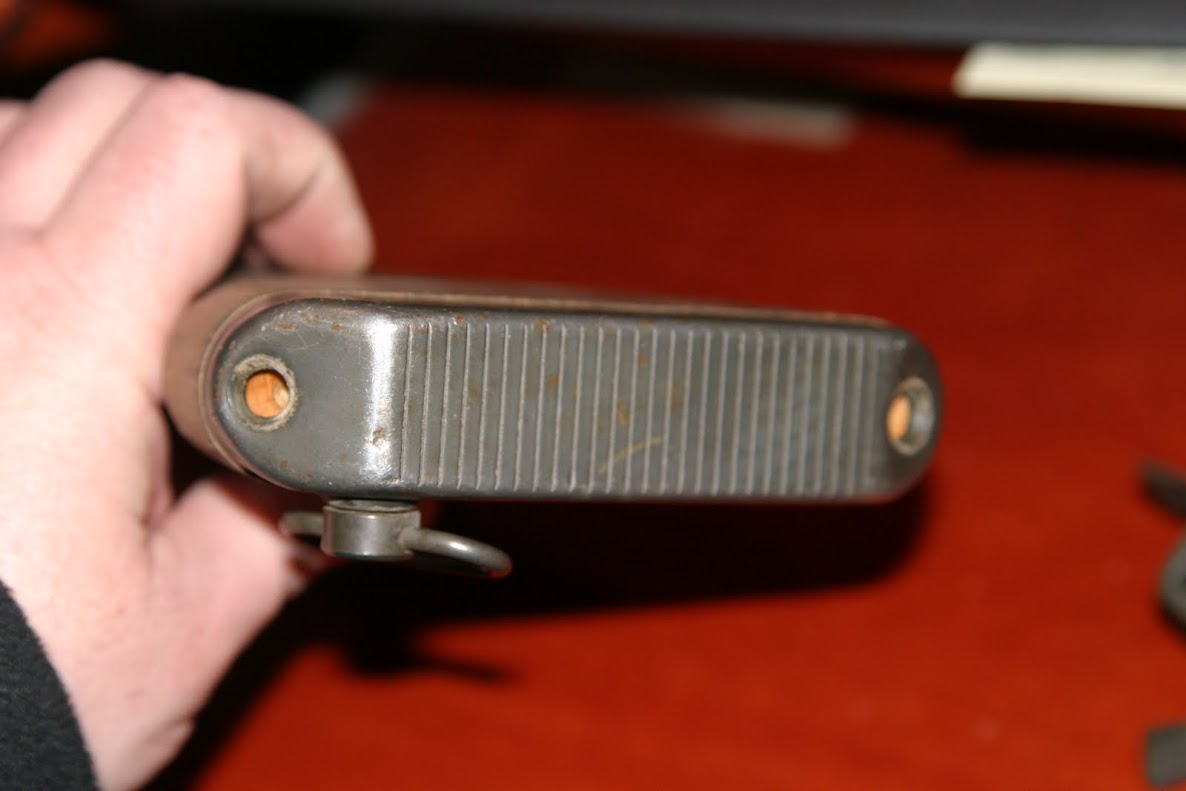
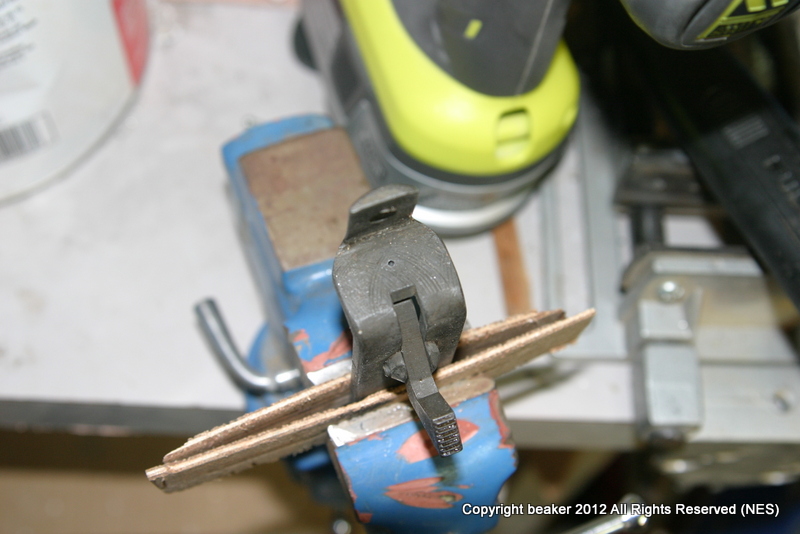
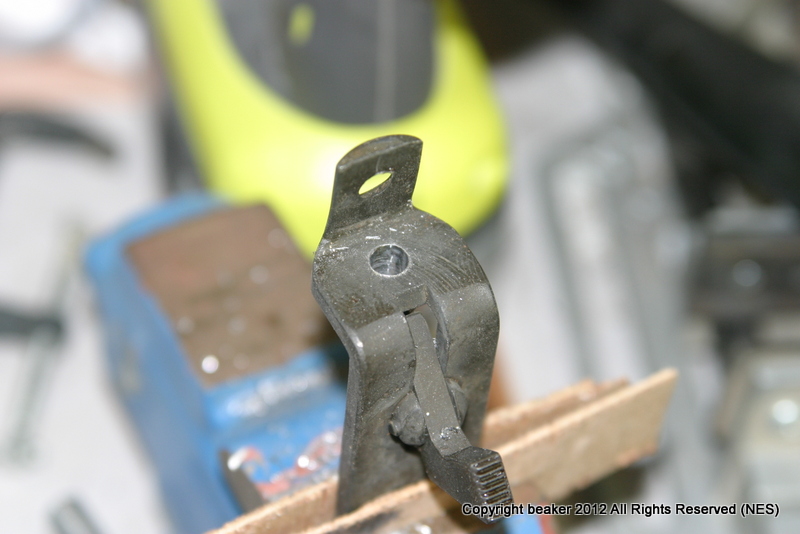
I put the bracket in a vise and drilled the first hole (1/16") in the center of the round stud. You won't know where to drill the hole if you start from the other side of the bracket.
Then flip the bracket over to drill from the other side (it has better clearance for your drill). I used a hand drill for this.
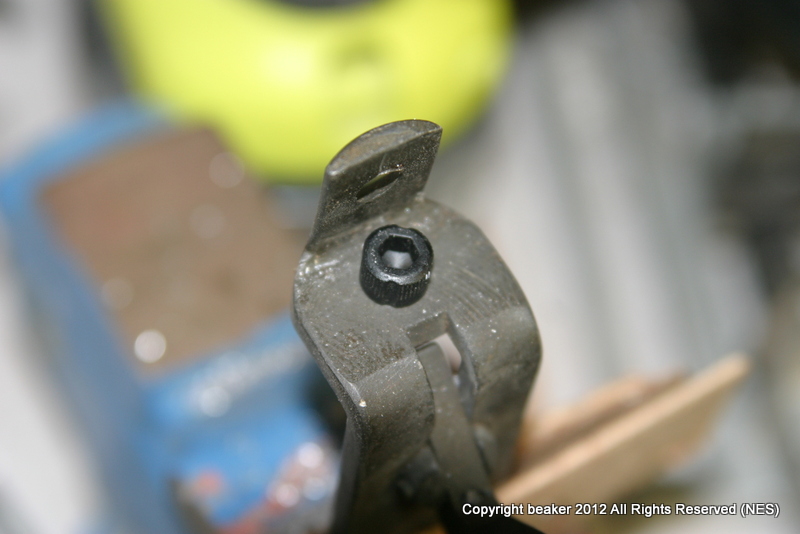
Next drill a 1/8" (I also drilled a 3/16" hole shown below) using the pilot hole you drilled from the other side.
Then the final 1/4" hole.
The 1/4-20 cap screw should fit through the hole easily now.
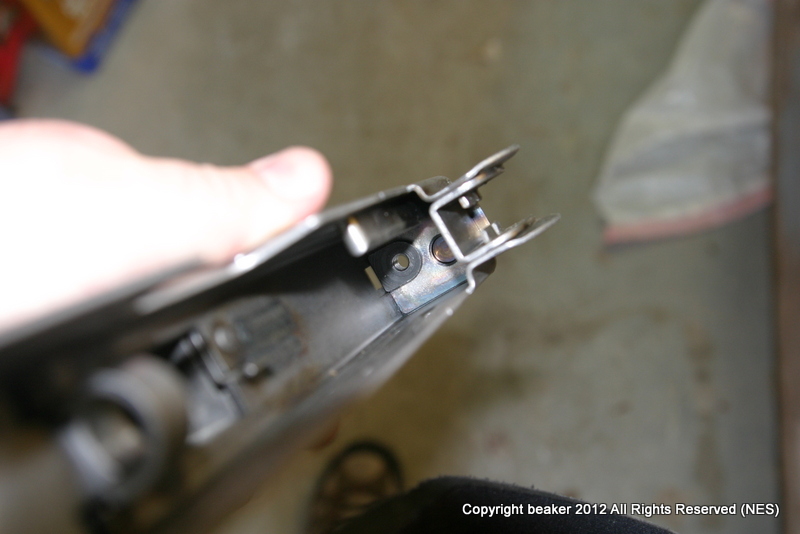
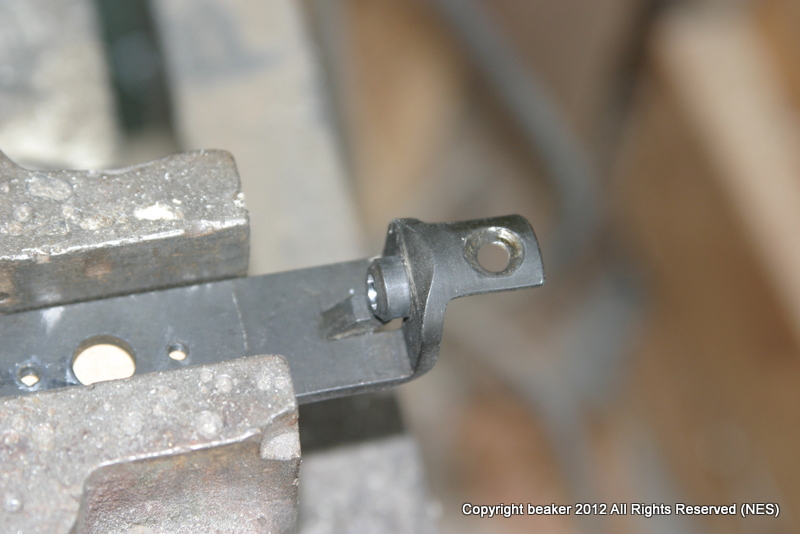
But the stud is still there.
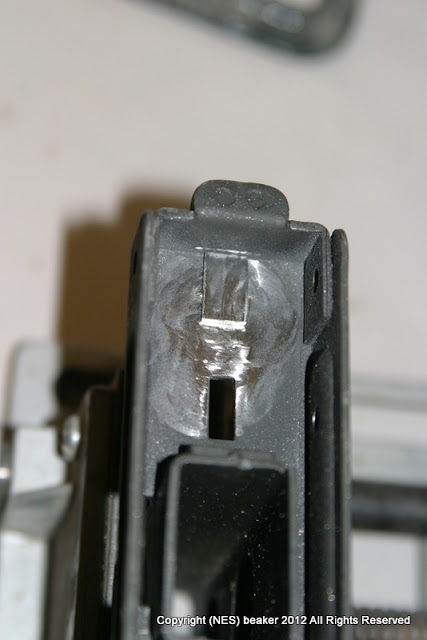
I used a horizontal cutoff saw to remove the stud. A band saw would also work great for this.
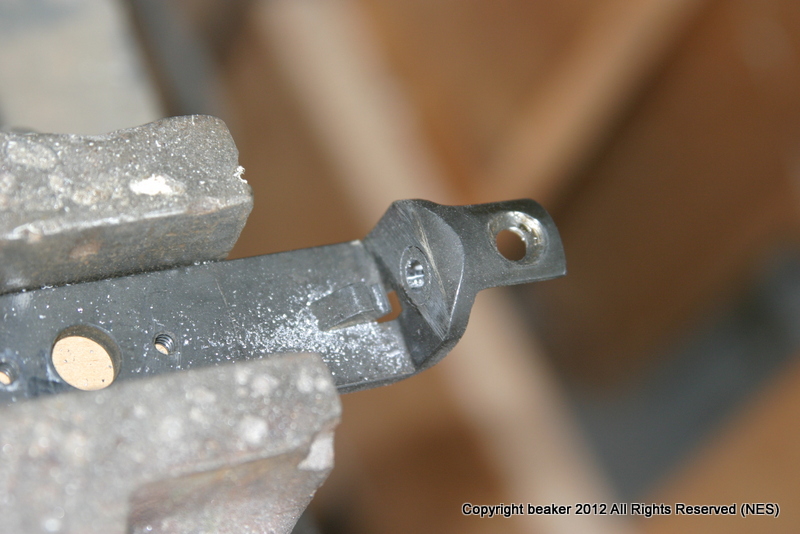
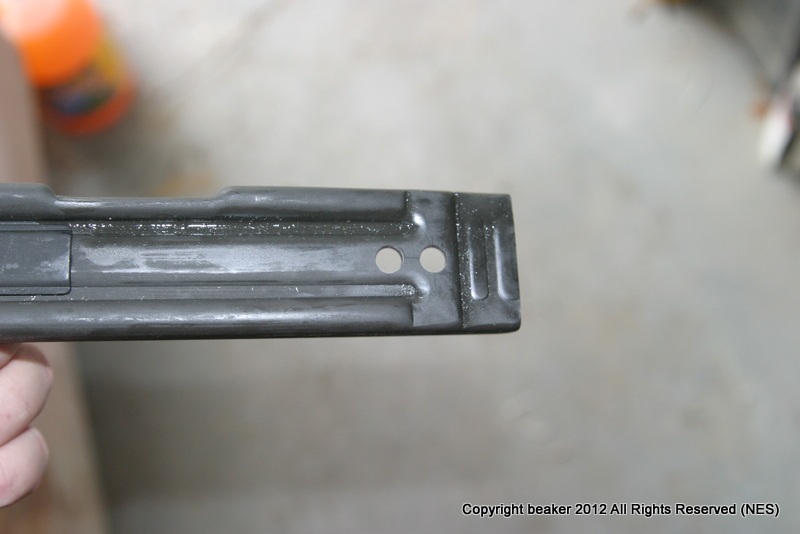
I cleaned up the saw marks with a dremel, and it will get grit blasted later when I re-park. The bracket is now ready to install permanently onto the receiver. I really like this method because it still looks like the original quick release stock, you can't tell when assembled.
Now it is time to install everything for the range testing of the Uzi before the finishing steps.
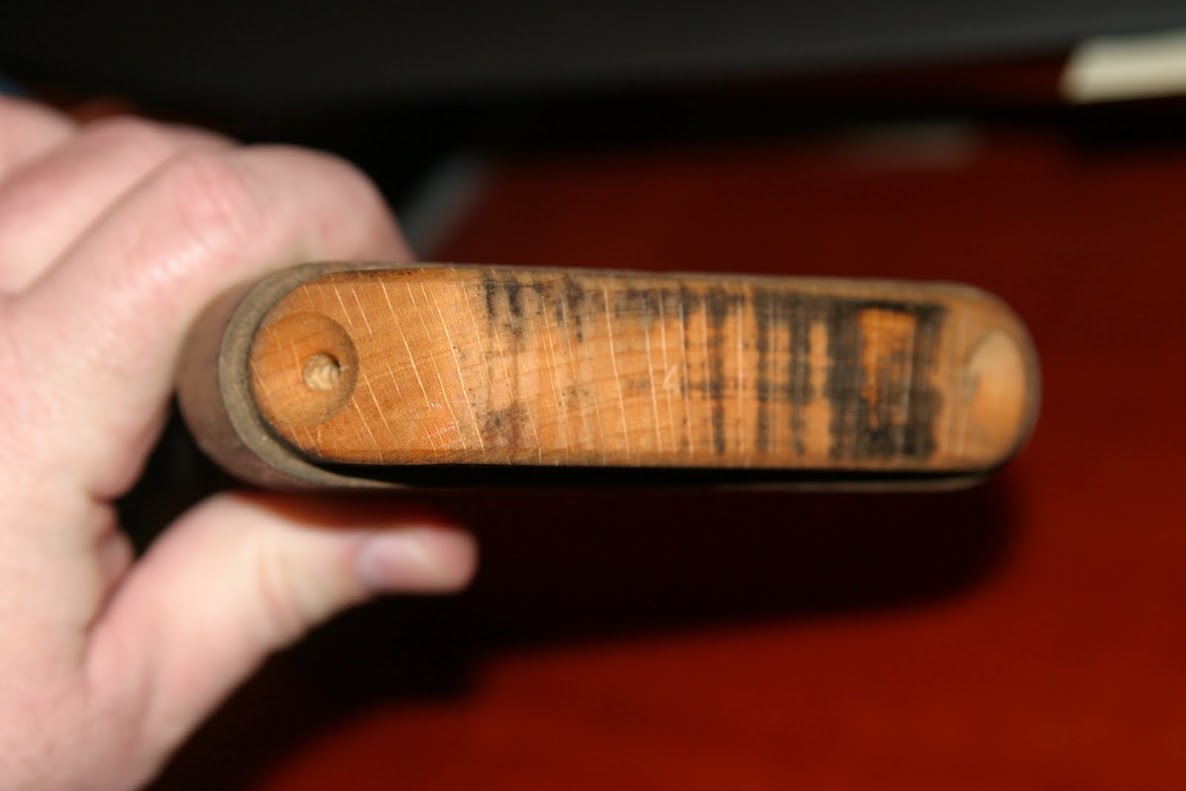
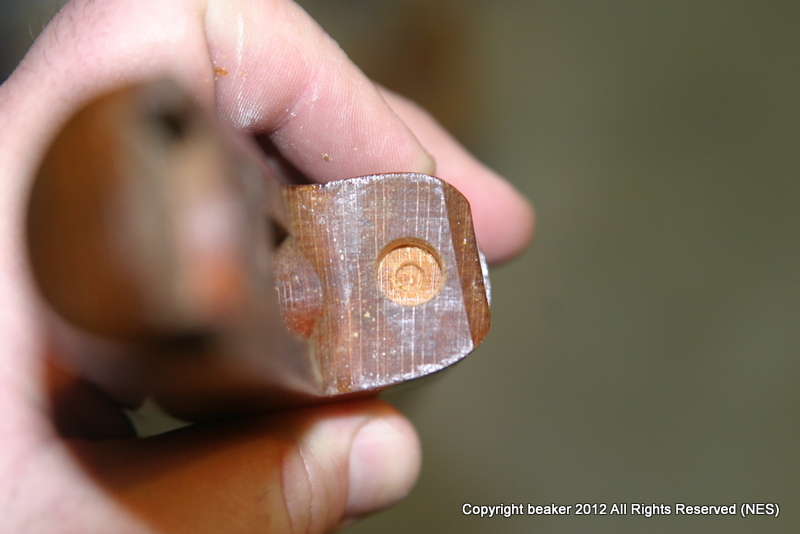
The stock will need one more modification prior to reassembly. You need to drill a counterbore in the front of the stock where the head of the cap screw will protrude. To locate the hole I put the mounting bracket into position, then the wooden stock. While holding it, I used a pencil to mark the hole location from the inside of the receiver.
Pencil Mark
I used a 3/8" wood boring bit to drill the clearance hole with a hand drill. I used the head of the cap screw as a reference for the depth needed. The hole should be a little deeper than the height of the cap screw.
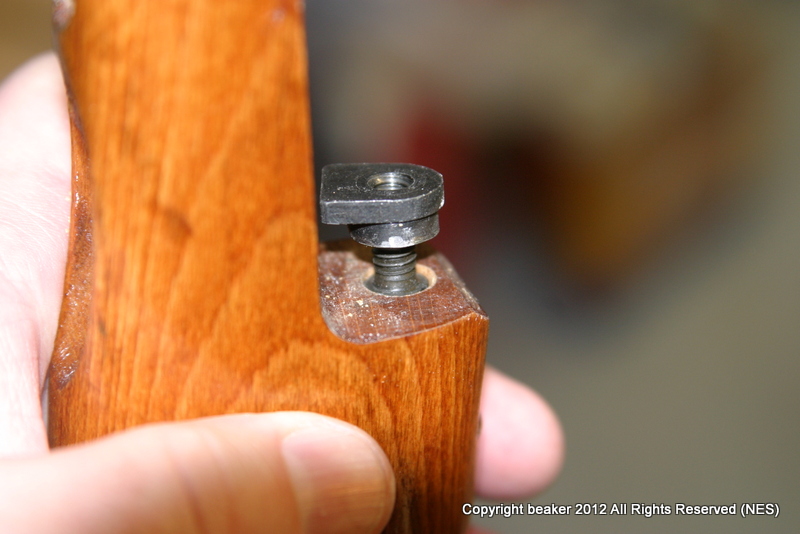
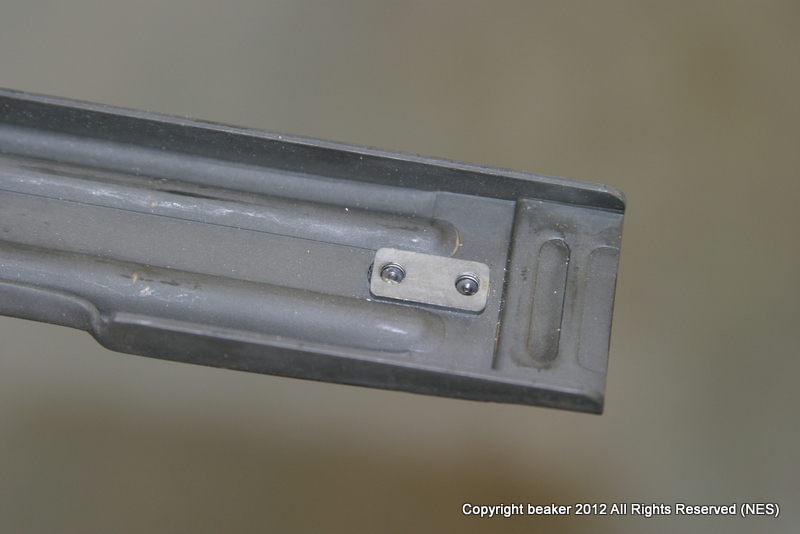
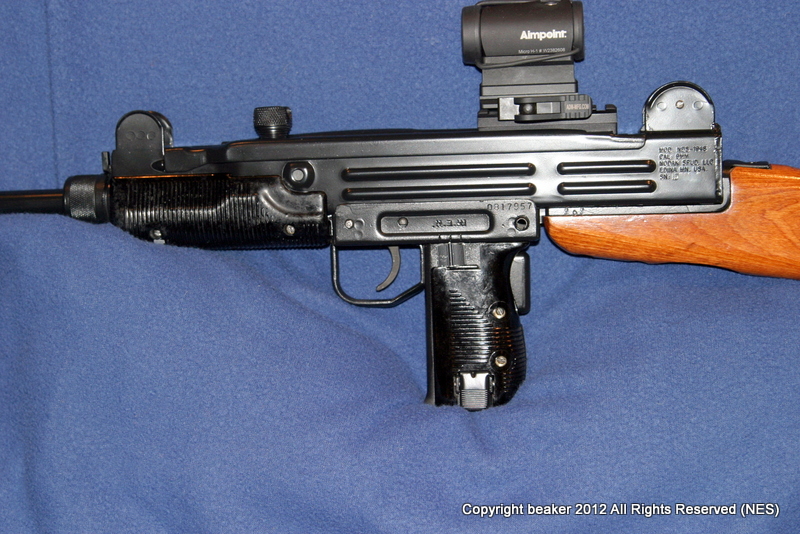
Now you can install the bracket on the receiver and it looks like this...
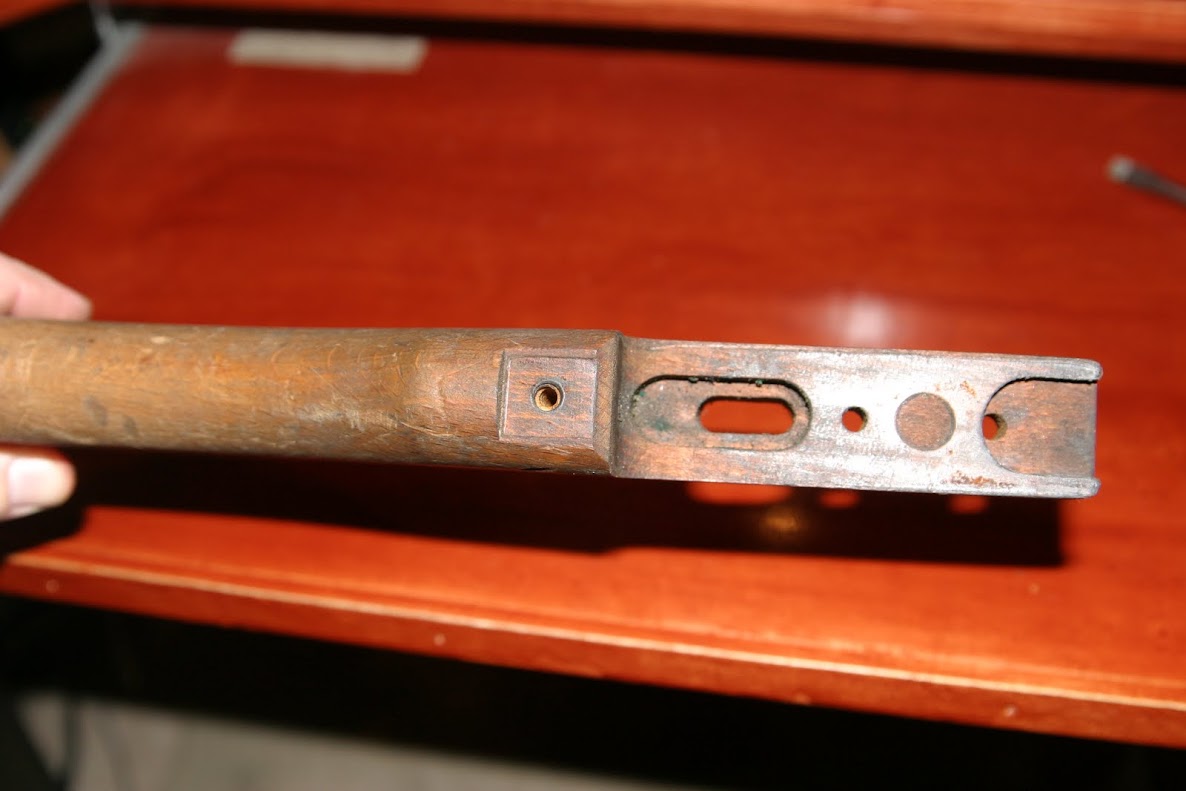
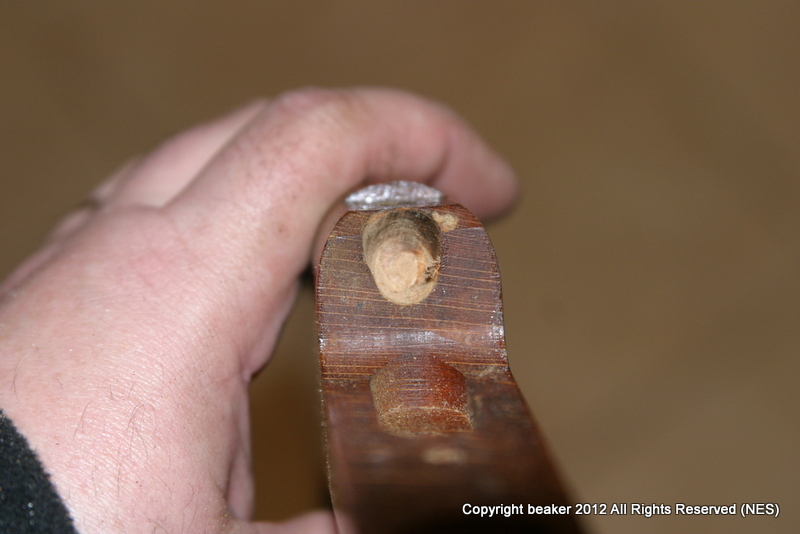
Because you have to attach the bracket to the receiver, then slip on the stock, you need to make additional clearance at the top of the hole using a dremel so it looks something like this. I just hand fitted it until it slipped into the bracket properly.
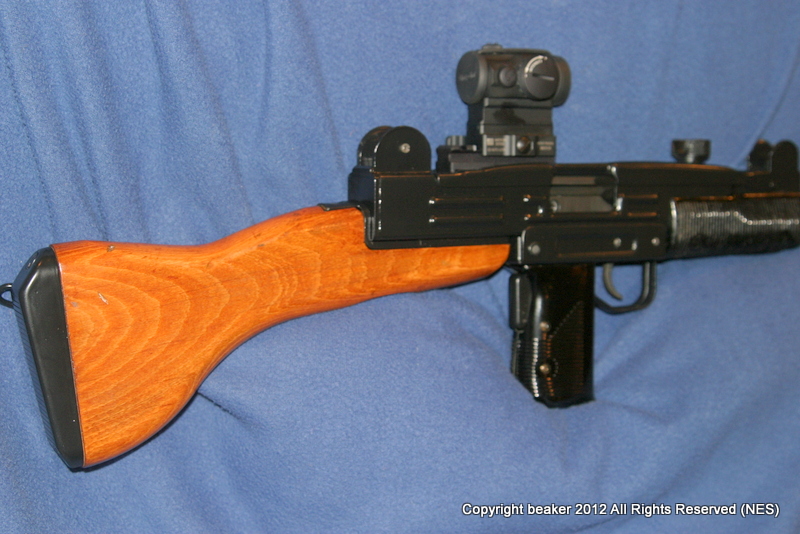
Once the stock is fitted to the bracket, you can install the two machine screws on the bottom of the receiver, and the wood screw on the top.
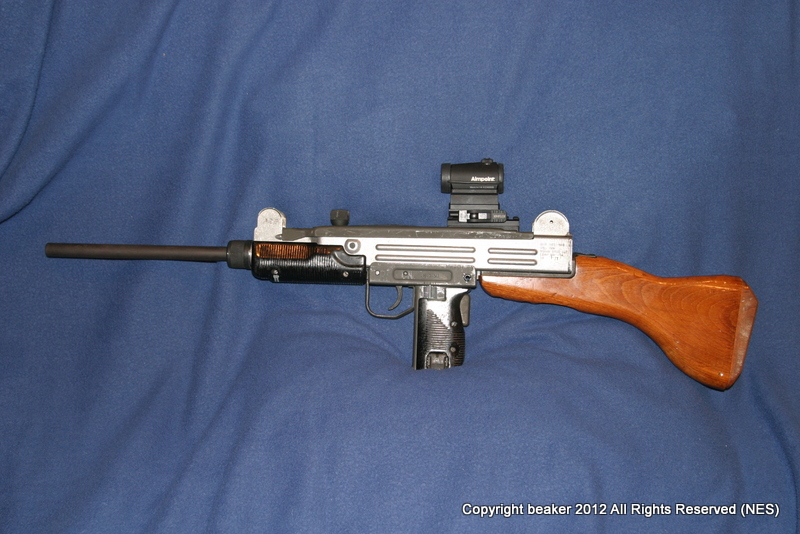
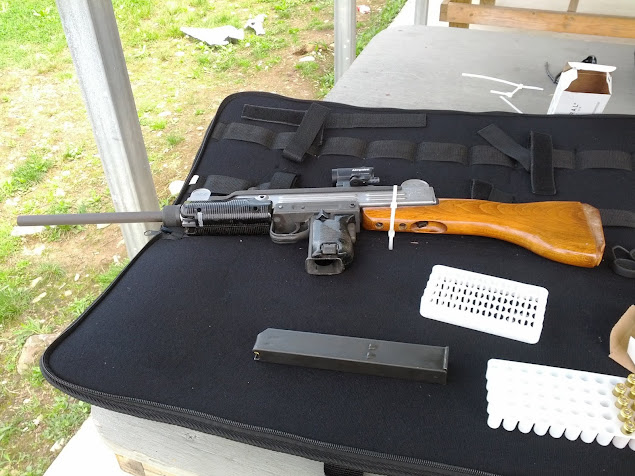
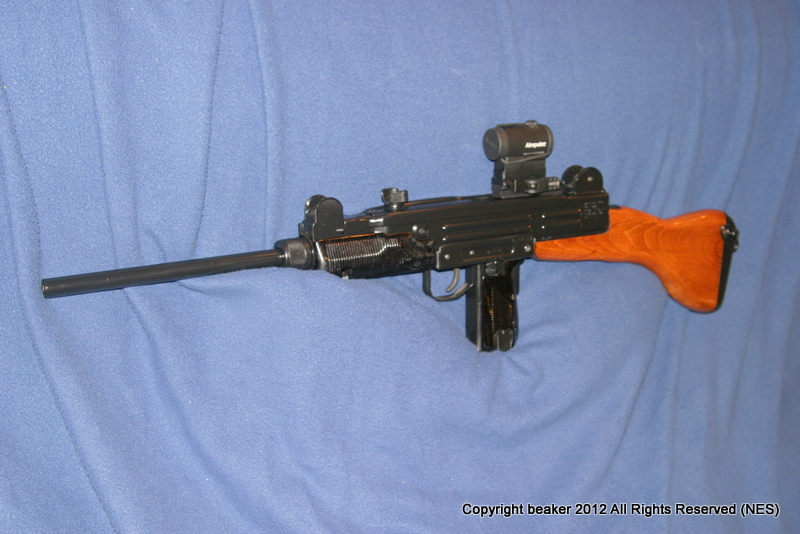
It is a very solid lock up and you can't tell it is permanently attached keeping the original looks of the Uzi.
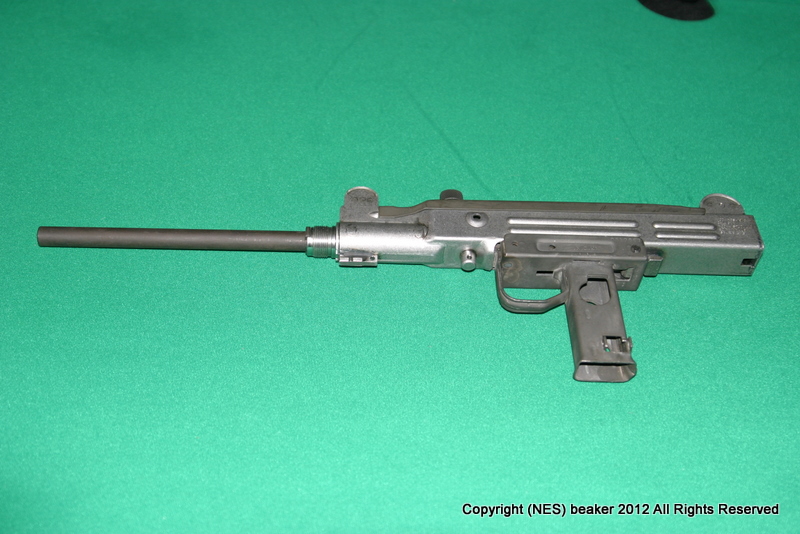
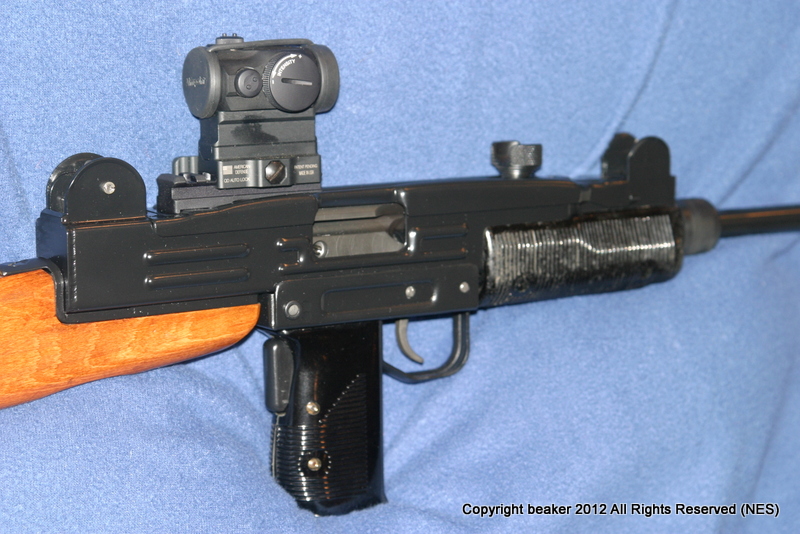
At this point the gun is ready for test firing! Hopefully will get it out to the range tomorrow.
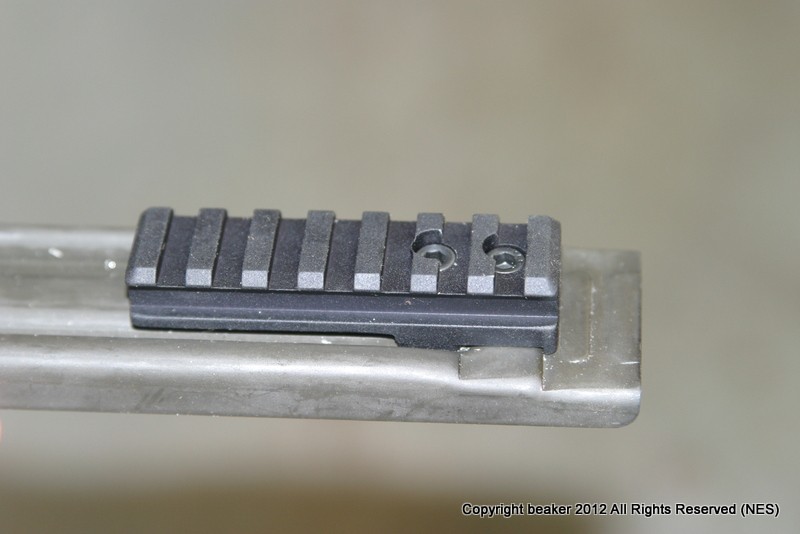
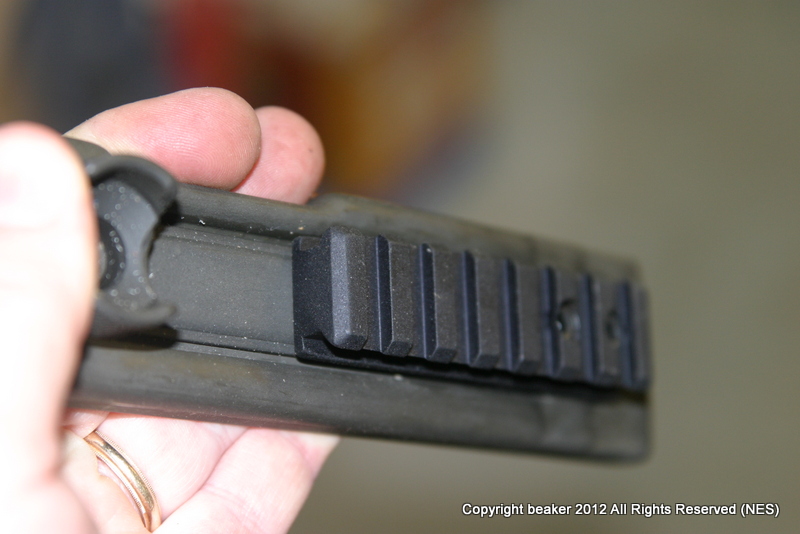
I also installed a StormWerkz optic rail on the top cover which I'll cover in a different post.
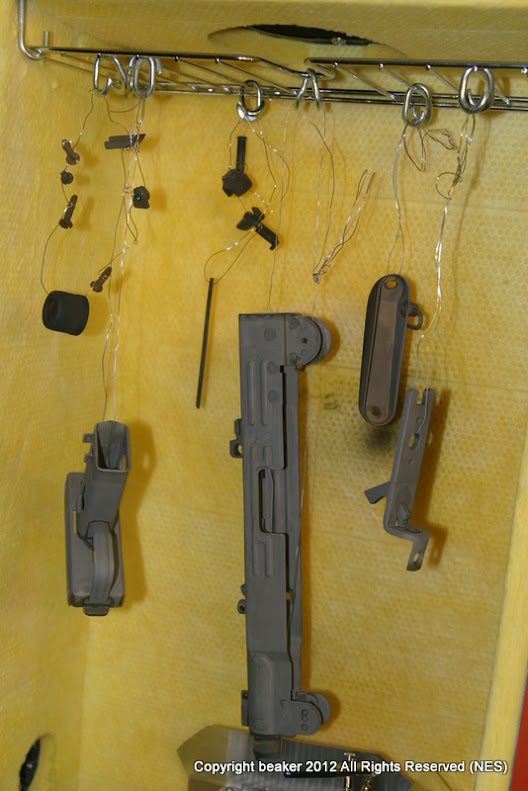
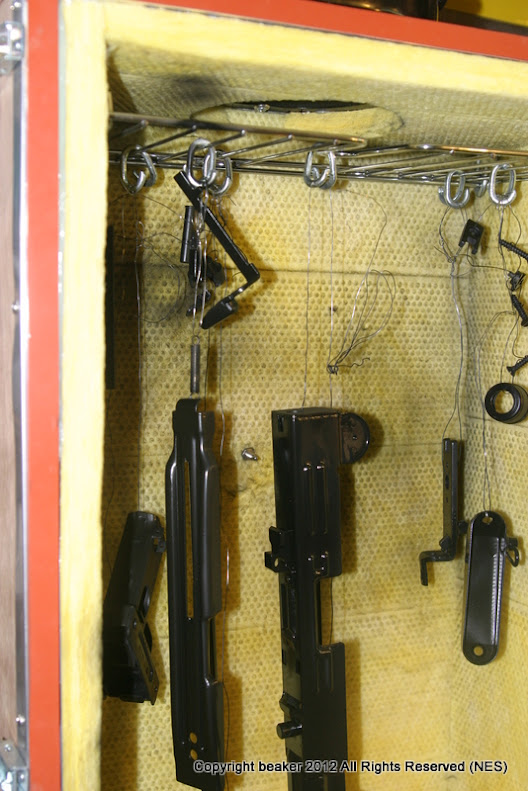
Here it is ready for the test firing, the receiver is still in the white.

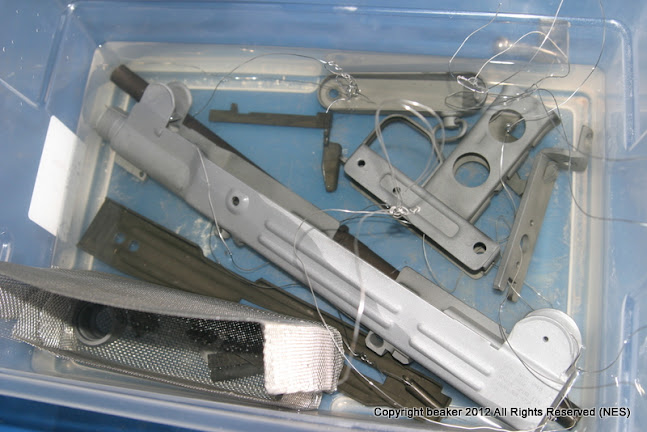
![[smile]](/xen/styles/default/xenforo/smilies.vb/001.gif "Smile [smile]") , so I put the welded lower into a Bridgeport and cleaned up my handiwork. Once it gets blasted, parked and gunkoted it will look almost pretty good.
, so I put the welded lower into a Bridgeport and cleaned up my handiwork. Once it gets blasted, parked and gunkoted it will look almost pretty good.
") . I'll be wrapping it up in April when I receive the bolt assay. Supposed to be ready in a few weeks from now.
. I'll be wrapping it up in April when I receive the bolt assay. Supposed to be ready in a few weeks from now.


![[grin]](/xen/styles/default/xenforo/smilies.vb/041.gif "Grin [grin]")


![[wink]](/xen/styles/default/xenforo/smilies.vb/002.gif "Wink [wink]")

![[cheers]](/xen/styles/default/xenforo/smilies.vb/018.gif "Cheers [cheers]")