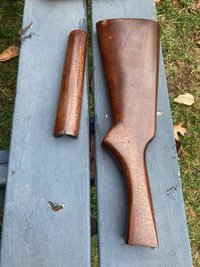
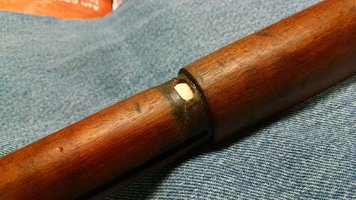
So the 311s like to crack the forend splits right in the middle at the screws and looks like someone tried heading that off .
The drilled out the “crack and put a “wedge” in there. Im most likely going to drill it out a bit more and acuglass the cavity and drill new holes.
View attachment 558545
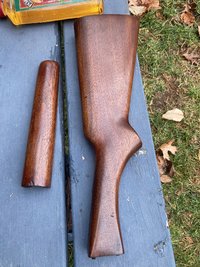
Next is the crack in the stock very common on the 311. Hard to see but might head this crack off with a small hole and fill with epoxy. Objective of this rifle is putting it back in action all nice and clean.
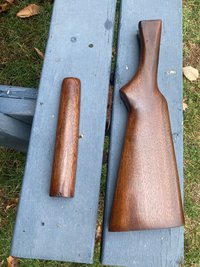
I drilled out the “crack” and filled with epoxy used some of that minwax wood hardener on some soft spongy parts
View attachment 559030
The dark line is the crack and by the dark spot around it I think someone tried “squeezing” glue in there. My plan is to drill a small hole at the end if the crack and fill with acuglass. Then try to get some glue to wick into the crack z.
View attachment 558546Crack all better
View attachment 559027
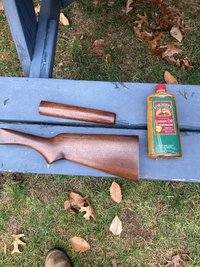
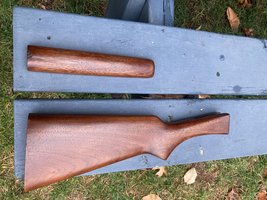
Now onto the wood
Prepping for the crack repair the alcohol took off what ever varnish was on there so had to clean it up
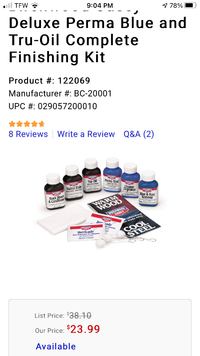
Since its going to see field use going with a slightly tougher finish than tung oil
View attachment 559028